
When it comes to roofing in Portland, the city’s unpredictable weather—ranging from heavy rain to strong winds—makes a durable and well-installed roof a top priority for homeowners. If your roof is starting to show its age or you’re simply ready for an upgrade, you’ve probably considered shingle roof installation. It’s a common choice, and for good reason—shingles are durable, cost-effective, and come in various styles to suit any home. But what does the process actually look like? What’s involved in putting on a brand-new shingle roof? Strap in, because we’re about to take you through every step of the journey—from the first nail to the last ridge cap.
Step 1: Start With a Solid Foundation—The Roof Deck
You wouldn’t build a house on a shaky foundation; the same goes for your roof. Before laying a single shingle, the roof decking (the plywood or wooden boards that form the base) must be thoroughly inspected. Is it solid? Is there any rot or damage? If there’s an issue here, it needs to be addressed before moving forward. Once the decking is good to go, we’re ready for the next step.
Step 2: Layer on the Protection—Underlayment Time
Before we even think about shingles, we need to lay down a protective underlayment. Think of it as the roof’s safety net—this material goes over the decking to create a waterproof barrier, keeping moisture at bay and protecting your home from leaks. There are a few types of underlayment to choose from, but the goal is the same: ensure your roof stays dry no matter what Mother Nature throws at it.
Step 3: The Starter Course—It’s All About the Base
Now, we’re getting into the heart of the process—shingles! But before we start layering those beautiful shingles, we lay down the starter course. This is a row of shingles that goes along the eaves of the roof. It’s not just about making things look pretty; this first course is critical for keeping water from sneaking underneath the shingles. It’s the foundation of your roof’s waterproofing—solid, reliable, and essential.
Step 4: Shingle, Shingle, Shingle—The Main Event
Here comes the main act: installing the shingles. This is where the magic happens. Starting at the bottom of the roof, each shingle is carefully laid, overlapping the one beneath it to create a seamless water-shedding surface. This is where expertise really comes into play. The shingles need to be nailed down correctly, typically at the tar strip, to ensure they stay in place. Every nail has its place, and every shingle has its role in making your roof weather-tight and wind-resistant.
But it’s not just about the installation; the appearance matters, too. The shingles need to be laid in a pattern that’s not only functional but also looks great. A small misstep in alignment can turn a gorgeous roof into a crooked mess.
Step 5: Flashing Around Penetrations—Seal the Deal
Flashings are metal strips that go around roof penetrations—chimneys, vents, skylights, and valleys. Think of them as the roof’s armor at its most vulnerable points. Without flashing, water could easily slip through these areas, causing leaks and damage over time. Proper flashing installation ensures that these penetrations stay watertight, no matter what’s going on outside. Plus, it helps maintain the aesthetic integrity of the roof, making it both functional and sleek.
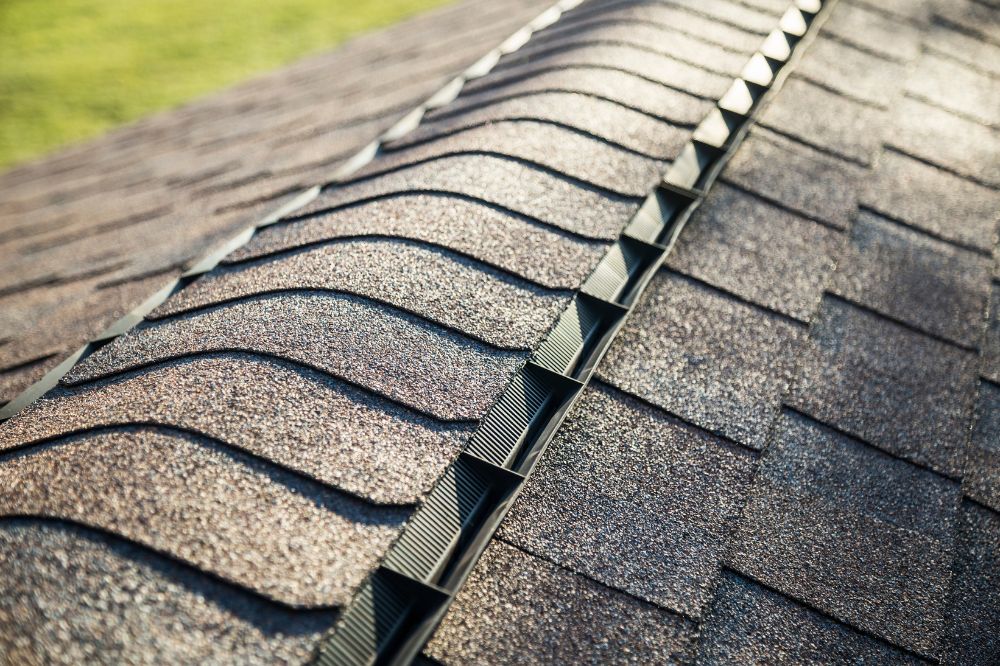
Step 6: Ridge Caps—A Finishing Touch
Once the shingles are all in place, it’s time for the final flourish: ridge caps. These are the shingles that cover the peak of the roof, where the two sides meet. They aren’t just there to make the roof look polished—they also provide extra protection, helping with ventilation and ensuring your roof can handle extreme weather conditions.
Step 7: Clean Up and Inspect—A Roof Worth Admiring
After the last ridge cap is nailed in, it’s time for the clean-up crew to get to work. Every scrap of debris is cleared away, and a final inspection is done to ensure everything is in tip-top shape. No loose shingles, no nails sticking out, and certainly no gaps in the flashing. The result? A roof that’s built to last, looks fantastic, and keeps your home safe and dry.
The Takeaway: Quality Roofs Are Built to Last
Shingle roof installation is no small feat, but when done right, it results in a roof that will protect your home for years to come. From a solid foundation to the final ridge cap, each step is critical to the overall performance and longevity of your roof. It’s not just about slapping some shingles on and calling it a day; it’s about precision, attention to detail, and roofing know-how to ensure everything is done right.
At Top Flight Roofing LLC, we understand that quality installation is the cornerstone of a durable roof. Whether you’re replacing an old roof or putting on a new one, don’t cut corners—invest in quality materials, hire a professional (trust us, you don’t want to tackle this one on your own), and let us make sure your roof can stand tall through whatever Portland weather throws its way. Roofing in Portland requires expertise and care, and that’s exactly what we offer to every customer.